Monday, May 2, 2016

Native American Tribe

For this jigsaw learning method we looked at Native American tribes. In order to complete this experience, the class was broken up into home groups. Within our home groups, each student was required to sign up for a Native American tribe which included the Tlingit, Lakota, Dine’, Mohawk/Iroquois, and Muscogee. For my expert group, I chose the Tlingit Native American tribe because going into this project I had no knowledge about any of the given tribes, so I chose one that sounded the most interesting to me. This group consisted of everyone who had picked the same Native American tribe as I did. Within my group, we had to research the topic that included the history, culture, geography, food, clothes, habitat/homes, famous people, and generalization. Each person was in charge on a specific topic on the tribe. I chose to research the habitat/homes of the Tlingit tribe.  When researching the Native American tribe it helped me develop content knowledge about the topic because I had to research and read about the Native American tribe to found out the information I needed. Once each person in my group did their research we came together to put it all together in a PowerPoint. When putting it together, each member talked about his or her topic and it helped each person understand the information before presenting it to our home groups. I think breaking up the information within the group is helpful because you aren’t as overwhelmed as you would be researching all the topics. It is also easier to retain the information. Once our PowerPoint was done, I learned a lot about my Native American tribe, as well as how its geography affected the way they lived.

   Overall, this was a great experience because I was able to learn a lot of information on different Native American tribes in such a short period of time. The jigsaw learning method also helped me interact with my peers better, as well as practice teaching in front of them. This project was one of my favorite ones in class because it was fun and engaging. I was not just stuck in one group, I was able to move around and work with others. When I become a teacher, I will make sure to use this technique because it was very beneficial and informative. However, I will make sure to adapt the lesson as needed for the specific grade level.  I think this project will help students learn geography because the students will learn how geography affects the way you live. For instance, I learned that the Tlingit relied heavily on their wildlife and the lush forests that surround them. These forests and wildlife help the Tlingit tribe create their shelter, clothing, and food. They also needed to live in close proximity to water to help them obtain the food they eat as well as the wildlife in the forest.

Macroeconomics vs. Microeconomics

In class the other day we got to learn how to teach economics in a elementary school . Each student was assigned one topic. The topic I picked was macroeconomics vs. microeconomics. I had to explain the difference, as well as explain how I would teach it to a first and sixth grade classroom. Below is what I learned. 


What's the difference between Macroeconomics and Microeconomics?

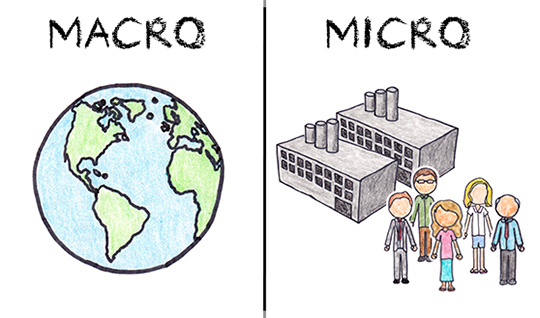
Macroeconomics is the study of a national economy as a whole. Some of the most common focuses of macroeconomics include unemployment rates, the gross domestic product of an economy, and the effects of exports and imports. 
Microeconomics is the study of economics at an individual, group or company level.This usually has to do with the study of supply and demand for a specific product. 


                                                Here is the Glogster I would share with my class.


                                              Here is the Voki I would share with my class.
 ÃªBelow is a short video about 
macroeconomics vs. microeconomics.
This is a great video to show your classroom. Ãª


Here is the link to the class powerpoint presentation on teaching economics. 


Sunday, May 1, 2016

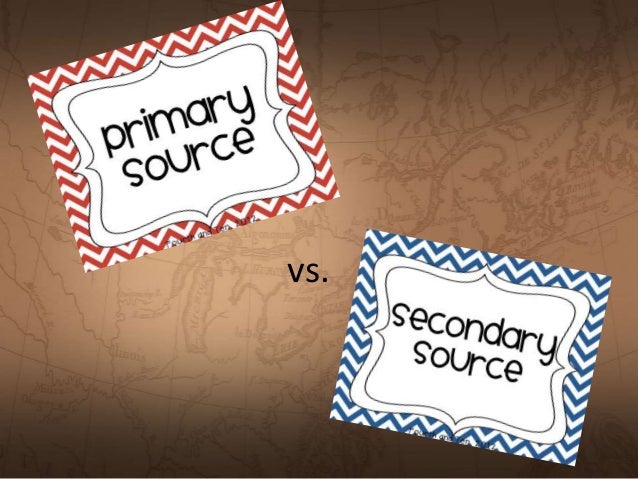
Primary and Secondary Sources.


What's the difference? 

A primary source provides direct or firsthand evidence about an event, object, person, or work of art during an historical even and/or time period. For example it can include:

  • Original documents: Diaries, speeches, interviews, autobiography, news film footage
  • Artifacts: Pottery, clothing, buildings
  • Creative works: Poetry, drama, novels, music, art
A secondary source interprets and analyzes primary sources (they aren't firsthand evidence). Secondary sources usually are pictures, quotes, or graphics of primary sources in them. For example:
  • Textbooks
  • Magazine articles
  • Encyclopedia
  • Criticisms 
Teaching primary and secondary sources.

Teaching students the difference between primary sources and secondary sources are very important. However, when teaching it you want to make sure it is fun and engaging. I remember when I was in fourth grade my teacher came into class with a big bag of stuff. My whole class wondered what was inside the bag? Later that day, my teacher told us we were going to learn something new. It was the difference between primary sources and secondary sources. She brought out her bag and emptied it in front of us. She broke us up into two teams, team blue and team gold (my school colors). As a team we had to figure out if it was a primary or secondary source. It turned out to be a race. Of course, my team lost. After, my teacher told us what team won she began to explain the difference and the types of sources each included. That lesson turned out to be one of my favorite social studies lessons because it was so fun and engaging. Ever since that day, I told myself I would teach that lesson the way my teacher taught it to us. 


Here is a link of other ways you can teach primary and secondary sources in a classroom.


Friday, April 29, 2016

103 Creatively Simple Ways of Teaching Geography

I recently read the presentation titled 103 Creatively Simple Ways of Teaching Geography. Reading this presentation took forever but really opened up my eyes on the different ways you can teach geography. I never knew there could be 103 different ways! While reading it three ways stood out to me the most.. 


The first one is "Adopt a rock".  Students are asked to identify the rock's name, where it may have come from and what processes have shaped it. This helps students with geography because the students are asked where the rock is from and how it was formed. Students are even allowed to take the rock home and take care of it. This also shows students responsibilities. 


The second one is "Sing it". Students are asked to adapt lyrics to a song to fit the information given. This is a great way because songs are catchy and we tend to remember songs better than we are to retain information. I can still remember all the words to "Barbie Girl" but I can't remember what flip teaching is. With sing it, you can also use this for any subject/topic.


The third one is "A-Z". The students brainstorm words that start with the certain letter that has to do with geography. I think this is a great activity because it makes students think outside the box and work together.


Learning geography can sometimes be challenging. However, after reading the presentation I have now learned ways to teach it so that it is fun and engaging. 

Thursday, April 28, 2016

Jigsaw Learning


In class we learned about a new cooperative learning technique called jigsaw learning. This technique is a good way to avoid conflict among school children. The way jigsaw works is the students are broken up into smaller groups that contain 3-5 students. Once these groups are made, these groups are considered "home groups". While the students are in their home groups, they are assigned a different aspect or topic within their group. For example, while we were in our home groups we had to sign up for a Native American tribe. Once we signed up, we met up with different students from different home groups, who had the same topic as us. We worked together to research the topic, once we did that we returned to our home group and explained our topic. I really enjoyed this experience and can't wait to use it during student teaching and/or in the future. It was fun and engaging. It kept me on my feet and helped me be more social with people in my class. 


Monday, April 25, 2016

Current Events


Our Time to Present!

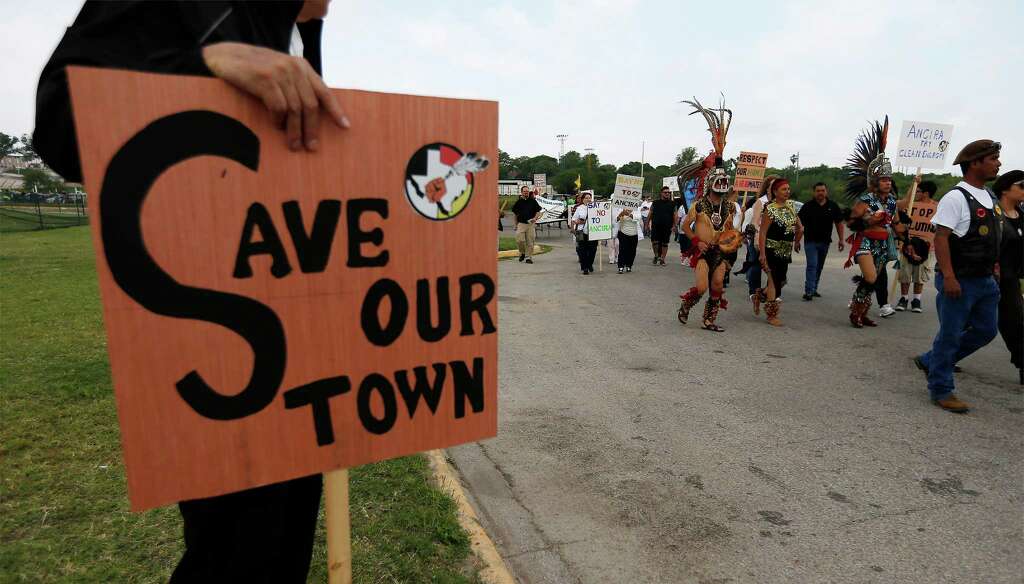
Over the last couple weeks, each group would present a short lesson on current events. This week it was finally my groups turn. My group chose the article, "In dispute over coal mine project, two ways of life hang in the balance" by William Yardley. My group got our article from a website called Newsela.com. This website was new to me and was pretty neat. I think this is a good website to use in a classroom. It is kid friendly as well. One thing I really enjoyed about this website was that after you read the article there was a short quiz you could take about it.


Once my group figured out what article to use, we had to decide how we would be teaching it. While talking to Melissa, she had the idea of doing a Pro vs. Con poster using Glogster. I thought this was a great idea because you can have mix feelings about this topic. The pros were arguing that they should use mine for coal and the cons were arguing the opposite. Once my group created the PowerPoint presentation, we decided to email the article in advance to our class and have them answer a few questions along with it. At first, we were going to have the students pick what side they stand for. But, I decided to go against that because people would pick groups with their friends in it and also some groups would be stuck with people who didn't know how to work Glogster. Now it was to present to the class. We started off by introducing ourselves and article. Once we finished that section, one of my group members went over what a pro and con was. We also discussed political posters. Once that was over the groups split up as well as the teachers and started creating the political posters. At the end of the 20 minutes, we shared each groups posters and they were pretty unique. 

  Overall, i think that the current events project was a unique activity to do in class. However, I would make minor changes. Some of these changes consist of more time being allowed while teaching it. Each group was given 10 minutes to teach their current events and it wasn't enough time. Next time I would give up to 30 minutes. I would also assign this as a solo project. From previous experience, it is very hard to meet up with my group. Also, my group chose a topic based off of Native Americans because that was their fieldwork topic.I was the only one left out and students wouldn't have this problem if they did the currents event project alone.

Here is the link to my groups current events project.

Sunday, April 17, 2016

Artifact Bags

What time is it? Summertime.. 


Just kidding it's time to write about my favorite activity I did and learned in class.

What's in my bag?


This week in class, we focused on artifact bags.This type of activity works best in an inquiry lesson because you have to follow through the inquiry process. In fact, during my fieldwork experience my group did an artifact bag for our inquiry lesson.

We weren't allowed to pick any topic. Instead we focused on the lessons we taught in fieldwork. My group taught about the thirteen colonies and how they gained their independence. So for my artifact bag, I decided to do Paul Revere. He was very important during this time period because he was a patriot leader and symbol of the American Revolution. For my artifacts inside my bag I included the following:

1. A man riding a horse. 
2. English tea bag.
3. A sign that said "The British are coming!"

I chose these artifacts because Paul Revere was known for his midnight ride. This means he was riding a horse through the village screaming "the British are coming, the British are coming!". I also chose the English tea bag because he was in Boston where the Boston tea party occurred. With all three artifact bags inside the bag and a picture of a patriot uniform on the bag, I would hope that my group would come to the conclusion that my person is Paul Revere. Here is the best part, they guessed it correct!

When creating this presentation, I also included a link to a website and book I would use to elaborate more on Paul Revere. The website I used was a virtual museum on him. I think this is a cool and different approach to a website because it isn't boring with all information. Instead, it is taking you around and talking about Paul and the American Revolutionary War. The book I would use would be Who Was Paul Revere by Roberta Edwards. This is a great book because it brings Paul Revere's ride back as it is explained through text and illustrations.


I think this activity works best for any grade level. I would not make any adaptions expect have the inquiry process sheet half filled out for either first or second grade. Other then that I would leave this activity alone. I think students would really enjoy this activity because they would learn a lot through a fun and engaging activity. Beside using this activity for social studies, you can also use it for different topics/subjects.  

Overall, I think artifact bags are a great way to learn about a certain topic, time period, and/or person. When I become a teacher I will most definitely use this to help expand and challenge my students knowledge. 


Here is the link to my presentation on artifact bag.